Ever since my boys were young, this mother had to be “tortured” annually whenever Chinese New Year came around because I had to help all of them make one Chinese lantern each. Their school, being Chinese-Filipino, used the lanterns made by the students to line the hallways.
So, it came as a great relief to me that my two high school boys decided this year to do the lanterns on their own. (Woohoo!!!!)
Actually, they did so with grunts and rants (and I was just waiting for them to give up and ask me to jump in to help). But, to their credit, they hurdled the test which I call the Test of Extreme Patience, and worked on their lanterns (with a little help from big sis and yaya). As of this posting, M1 had already finished his and M2 is almost there.
Just to give you an idea of what this mother had to go through year after year, let me give you a synopsis:
Materials You Would Need
1. Lots of RED Japanese paper and cartolina (be sure to beat the rest of your school mates to it at National Bookstore or suffer from lack of supply)
2. Glue (Elmer’s Liquid Glue is too wet; Elmer’s Glue Stick is too dry. Heck, I don’t know what kind of glue is best!!!)
3. A pair of scissors, paper cutter and cutting mat (the mat will spare your floor from potential disaster like permanent deep cuts here and there)
4. Ruler (to ensure the distance of the pattern lines from each other are exactly the same)
5. Scotch tape (to hold together the parts that accidentally rip if your luck runs out as you are halfway through the pattern)
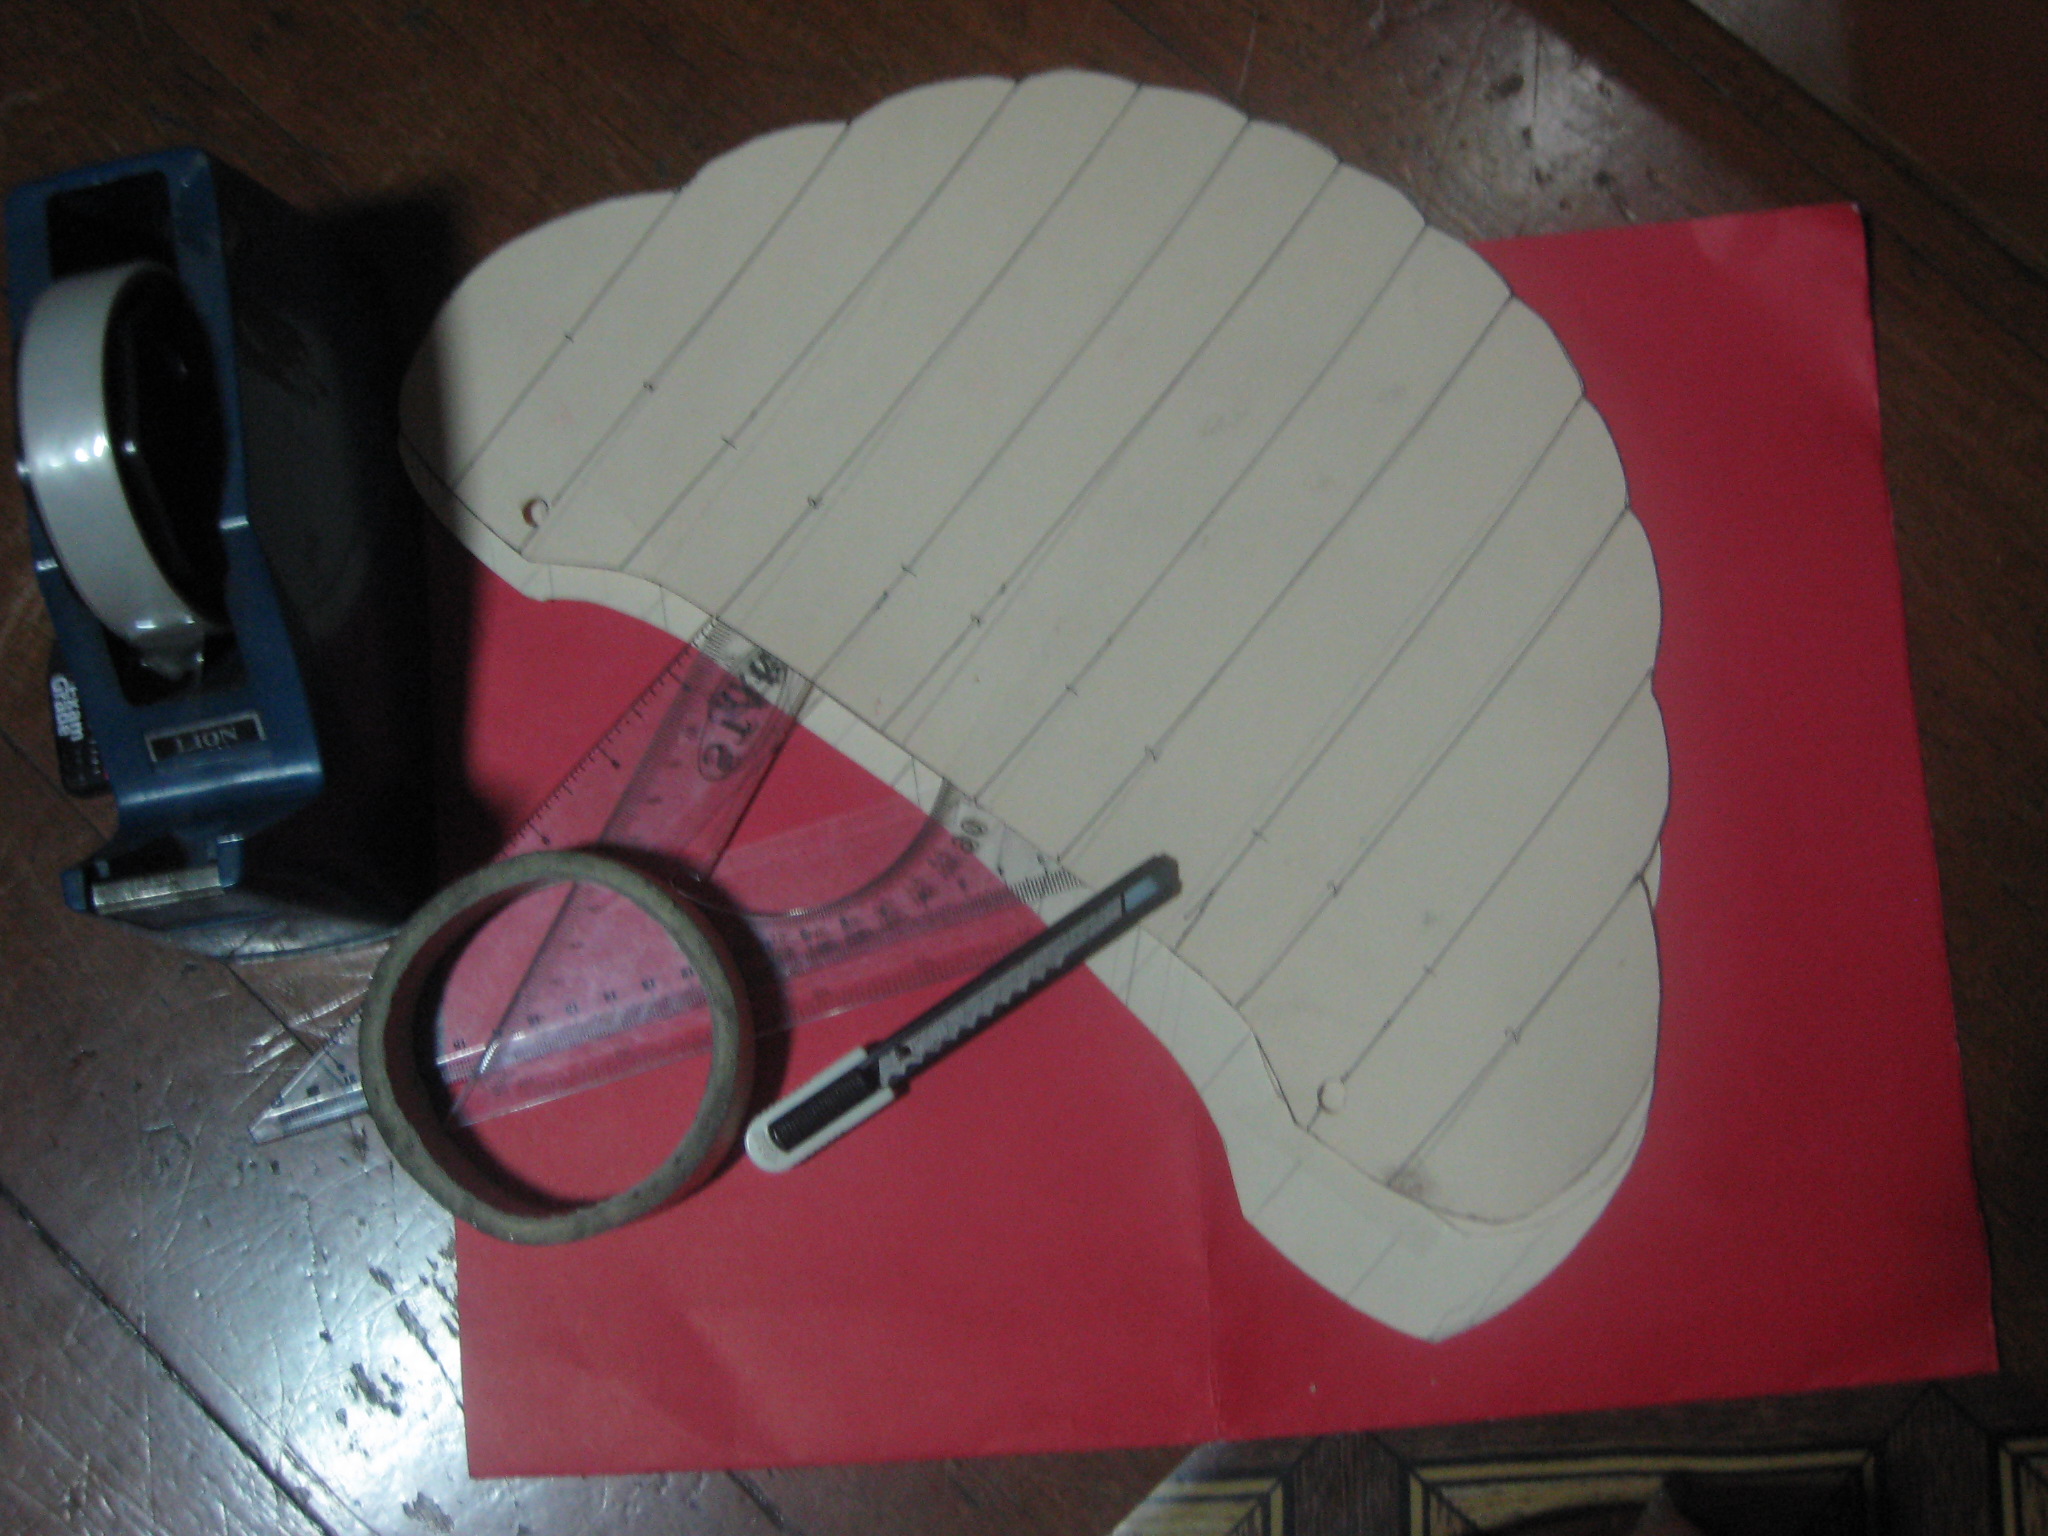
6. The pattern for making a red lantern as shown below (Note to parents: Be sure you have good co-parents willing to share this with you AND keep this pattern in your home vault as you will surely use this until your kid graduates from high school!)
7. Yarn
8. Last and surely not the least — a willing victim or two (I mean, helper/s — which was moi in past years)
Instructions
1. Cut 80 pieces of the lantern pattern using Japanese paper and 2 pieces using cartolina.
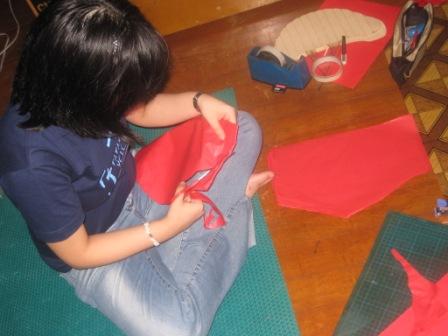
2. Draw lines down each piece of paper following the pattern’s lines.
3. Get one paper and glue down alternate lines (I refer to them as lines 1,3,5,7 and so on). Lay this paper down flat on the floor (the side with glue facing UP).
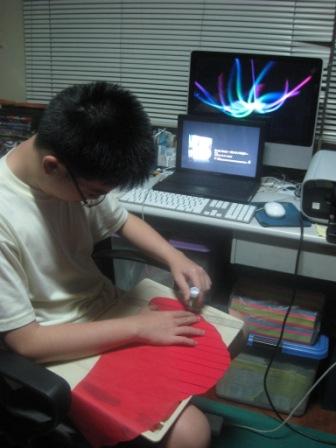
4. Get a second paper. This time, glue down lines 2,4,6,8 and so on. Lay the paper’s side without glue EXACTLY on top of the first paper with the glue.
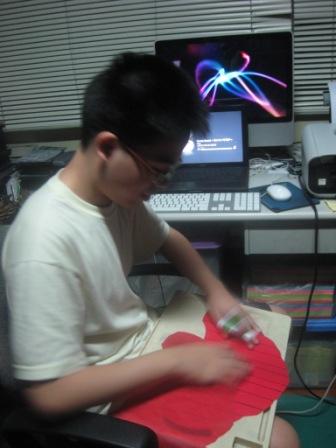
5. Get a third paper. Glue down lines 1,3,5,7 and so on. Lay this paper EXACTLY on top of the second paper.
6. Keep going till paper #80. Don’t forget that the papers have to be glued on alternating lines (following the odd-even pattern in instructions #3 & 4 above).
Now you know why I call it the Test of Extreme Patience?
7. Once all 80 papers are glued together, the cartolina pieces are glued to the front and back as the opposite ends.
8. Punch holes through the entire stack of papers following the hole locations in the pattern.
9. String short yarn through these holes and knot them.
10. Hold both ends of the lantern and slowly open it up like an accordion.
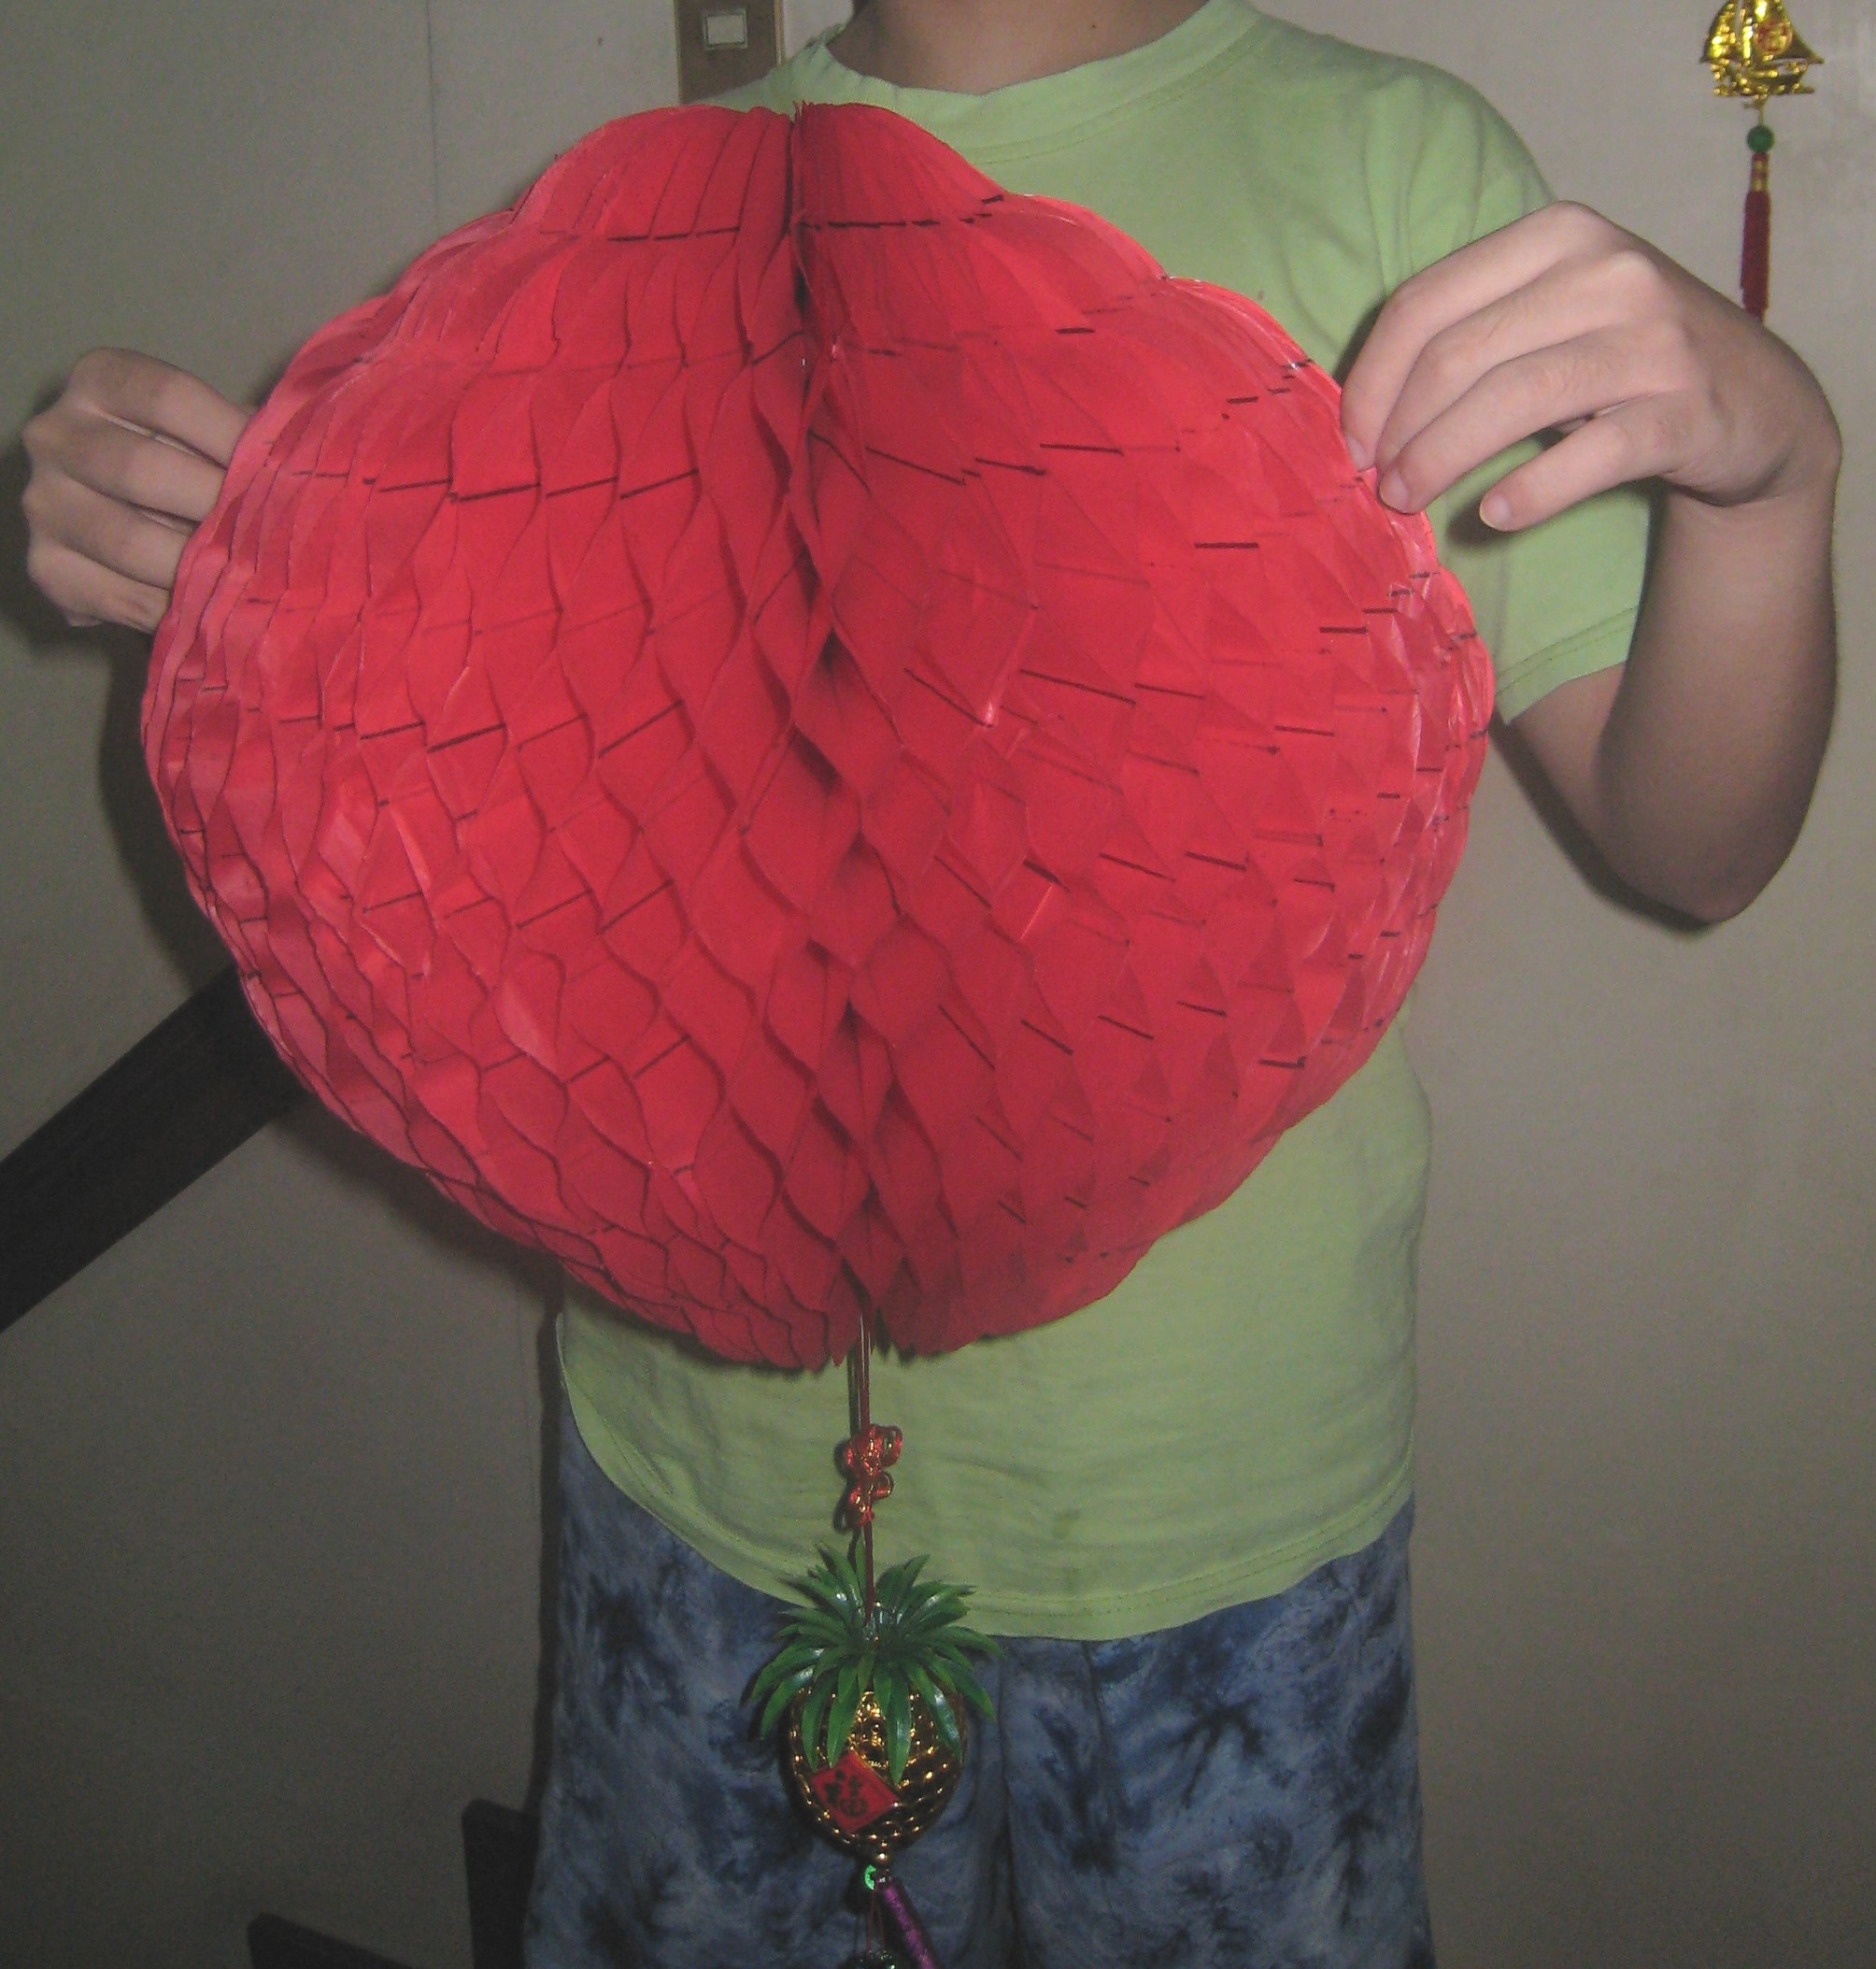
Voila!
WISHING YOU ALL AN ADVANCE HAPPY CHINESE NEW YEAR TO USHER IN THE YEAR OF THE OX!

man its so unfair. why do we have to make a lantern? cant our school just afford to buy their own lattern rather than just making all the high school students suffer.
AHHH it’s so hard to make…… busy pa the past few days
Wahh, where did you get your pattern? Or did you make it yourself? Is there one I can find on the internet and print it out? :c