
(I will place updates on this post as we crochet and test out the earsavers. Sometimes there is need to adjust the instructions depending on the experience of those using them.)
Yesterday, I came across the Facebook post of a friend. She had reposted someone’s crochet pattern for earsavers for frontliners.
It turns out that there are groups of crocheters who are organizing to crochet earsavers for frontliners.
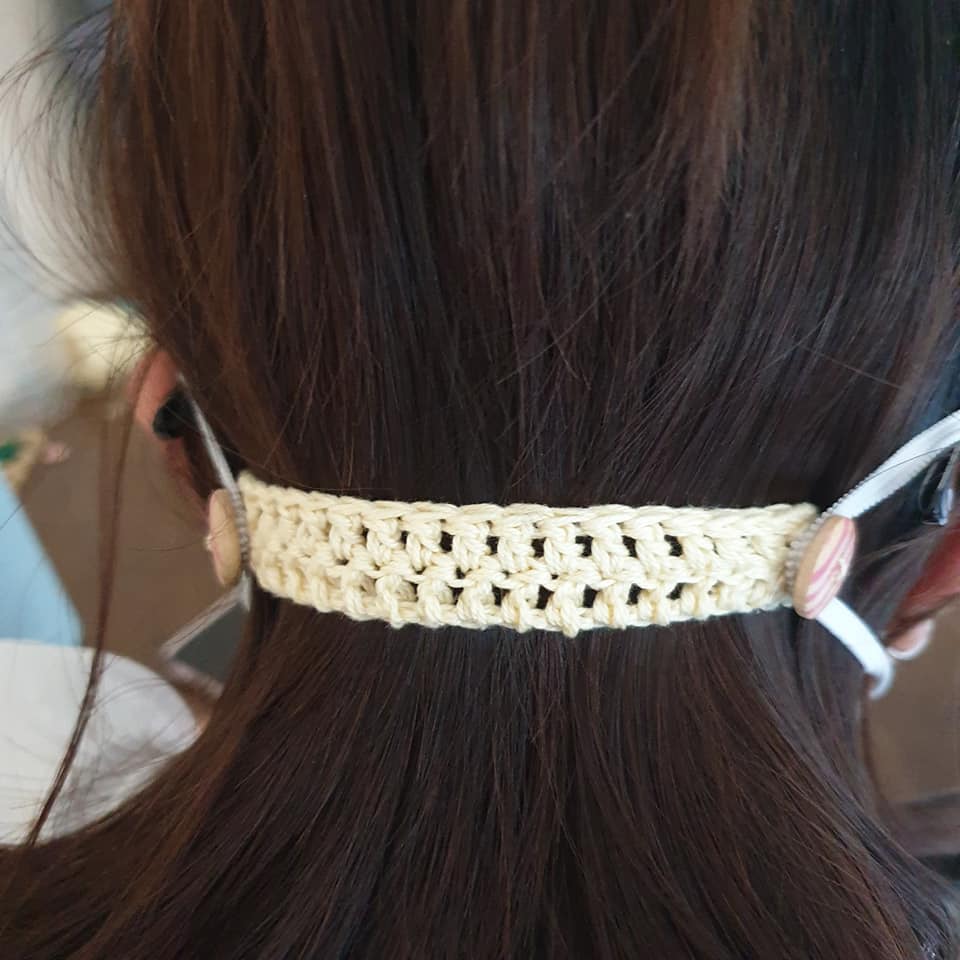
To be honest, I never heard of earsavers so I had to do some googling. It turns out that earsavers are strips that you place at the back of your head to which you attach the face mask ear loops instead of looping it behind your ears. For our frontliners who have to wear masks for long hours, earsavers literally save their ears from the pain and discomfort of those ear loops.
In the US, most earsavers are plastic and disposable.That does not appeal to me because one, it’s plastic. Two, it is often single-use. I am trying to cut down on plastic waste. So crocheting one appealed more to me. Besides, I had so much thread left over from crafting days and they are actually beautiful two-toned ones.
The crocheter whose pattern I followed is Erina Tachibana and this was her original post.
Earsavers can be made with 1 or 2 buttons. The 2-button one is usually 6 inches long with buttons on both ends. Each ear loop of the mask goes around a button.
 Source: https://www.facebook.com/erin0523/posts/10157198706771404
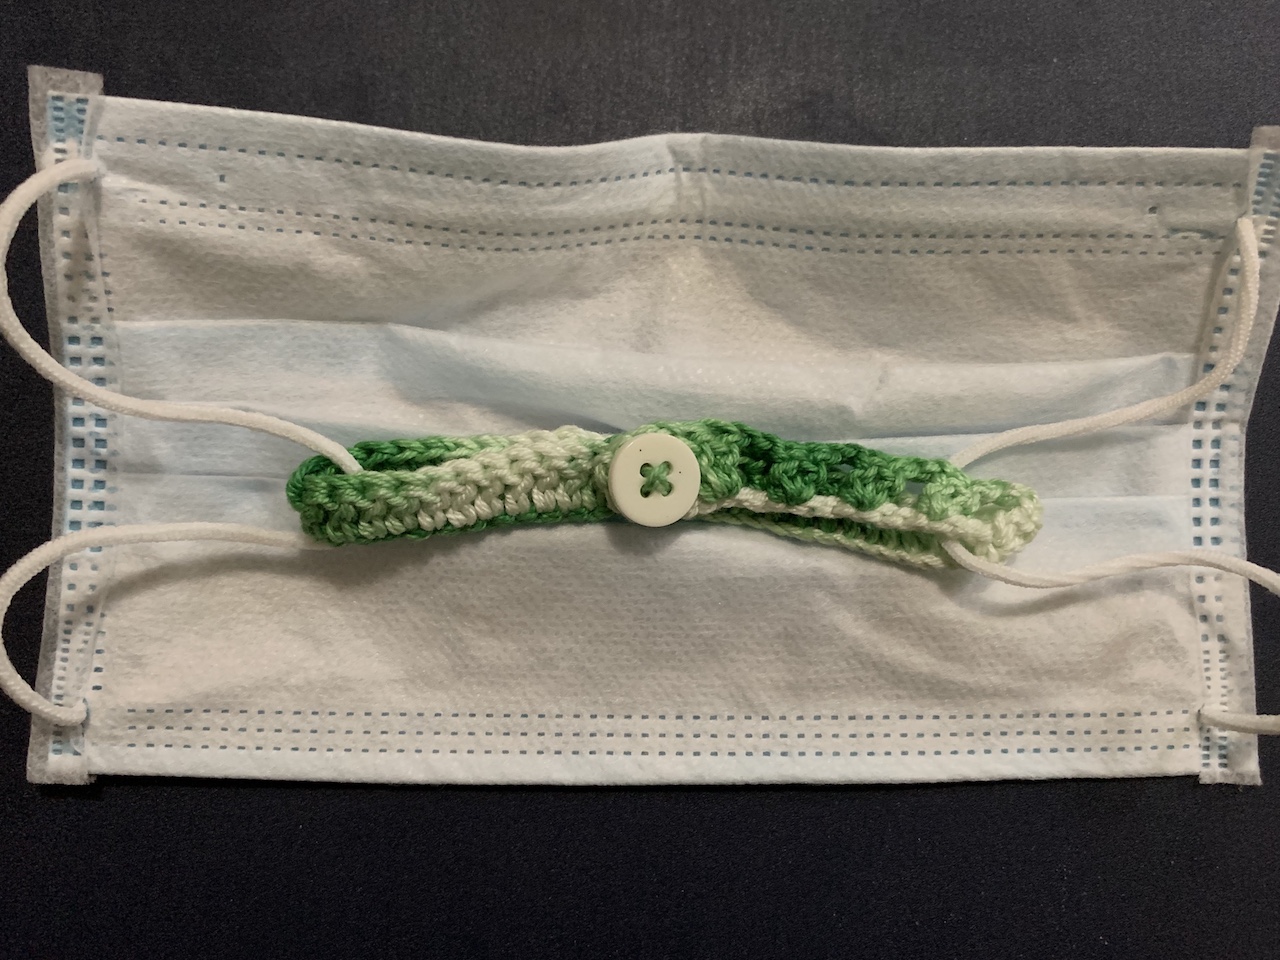
The 1-button version (which I am making) is 12 inches long with a button on one end and buttonholes on the other end. It catches both ear loops of mask at the back of the head and is buttoned in place. I like this because the buttonholes allow the frontliner to adjust it for comfort.
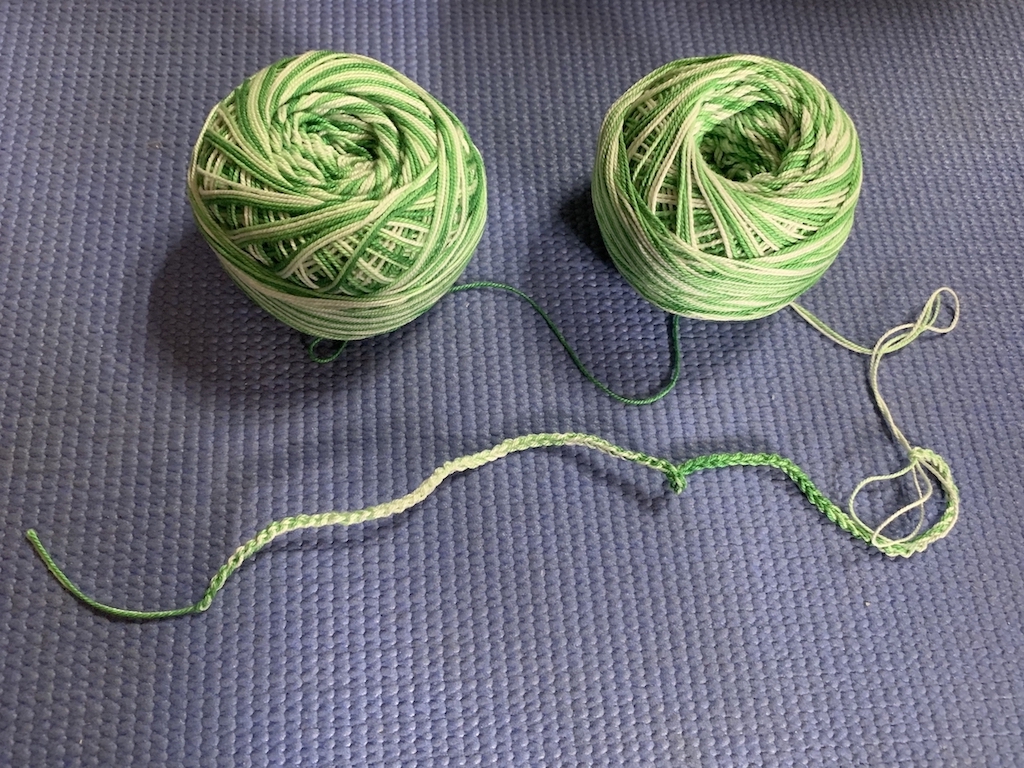
This was my first version using the instructions of Erina but maybe it was my threads or the fact that my needle was size 2 and not 3, as she recommended but the full length of the earsaver fell short of 12 inches. So I am now crocheting a second version and measuring the length of the first row (which is the base) with a ruler to get a full 12 inches. By my count, it takes 82 chain stitches (using 2mm hook) to make a 12 inch base. (Update, 4/14: I just got my 3mm hook and it took 70 chains to reach 12 inches)
The other thing I did different from Erina was to use 2 balls simultaneously to make 2-ply. Erina only used 1 ball and took out both ends of the ball. You can do that but…for the life of me, I could not find the end of the ball! Haha! So since I had 2 balls of the same color, I just used both balls. Actually, now that I am doing it, my next earsavers will combine balls of different colors. I think it will make the combination more colorful and interesting than just using 1 ball.
It’s really easy! Beginners can follow.
Here’s a video Erina made.
To summarize…
Materials:
3.0mm hook (I had none so I used 2mm)
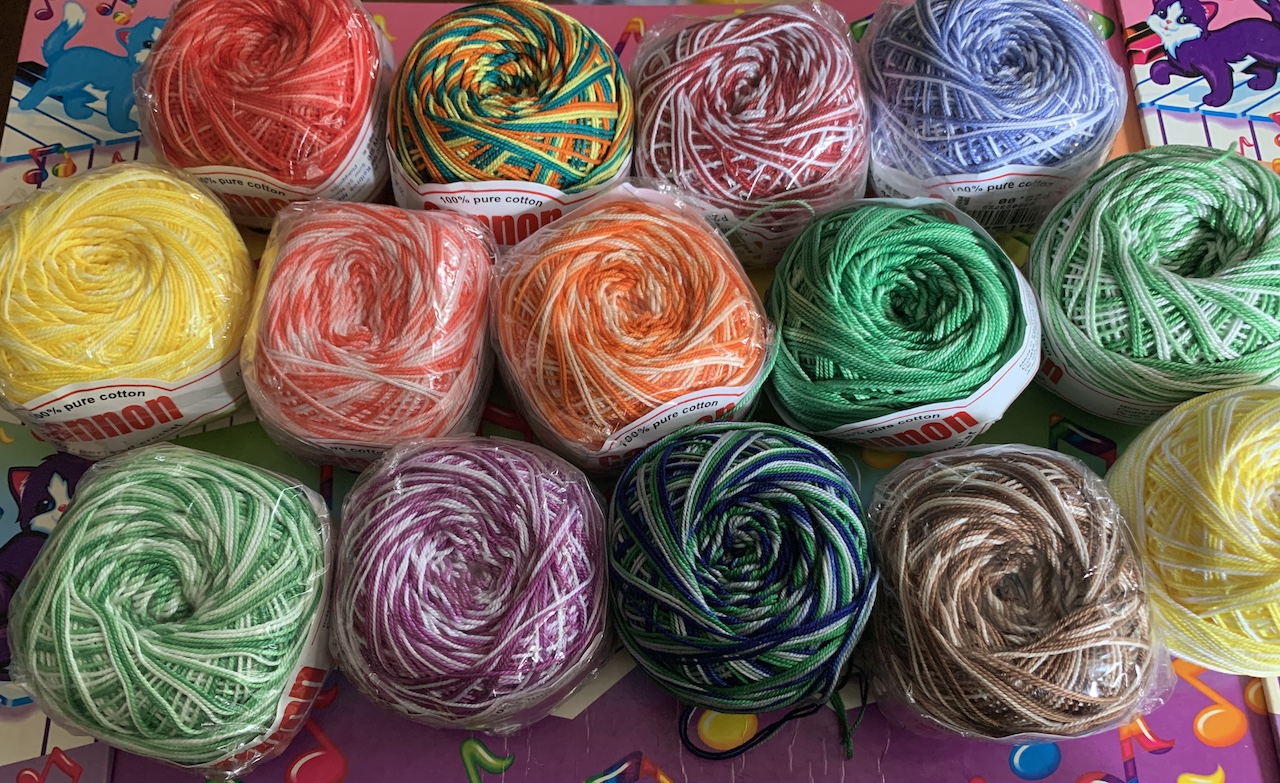
Cotton yarns (Monaco 2ply, Cannon 2ply, or 4ply dyed/undyed cotton, doublepull Aunt Lydia’s). Use cotton so it can be washed at much higher temperature than synthetic yarn.
Buttons
Needle
Scissors
Procedure:
* Chain 82 (2mm hook)or 70 (3mm hook), or whatever number of chains it takes to make 12 inches
* Double crochet on 4th chain from hook
* Chain 2. Skip 2 chains. Double crochet on 3rd chain from hook. Another double crochet on next chain. This set creates a buttonhole. Repeat this set (ch 2, sk 2, dc on 3rd ch, dc on next chain) till you’ve got 4 or 5 buttonholes. (Update 4/13: I will start making 7-10 buttonholes for more adjustment options since my test on the 5th buttonhole last night felt a bit loose still. We have to make sure the earsavers are snug around the heads of our frontliners.)
* Double crochet across the chains till you are back at the start.
* Chain 1. And…you now have an earsaver!
* Cut threads about 3 inches from ends and pull threads through last chain. Tighten ends by pulling threads slightly.
* Weave thread ends into the back of ear saver.
Button attachment:
Use single thread this time, preferably same color as your earsaver.
Sew button on end of earsaver.
If you don’t have buttons, you can crochet one using this tutorial:
Here’s a faster version:
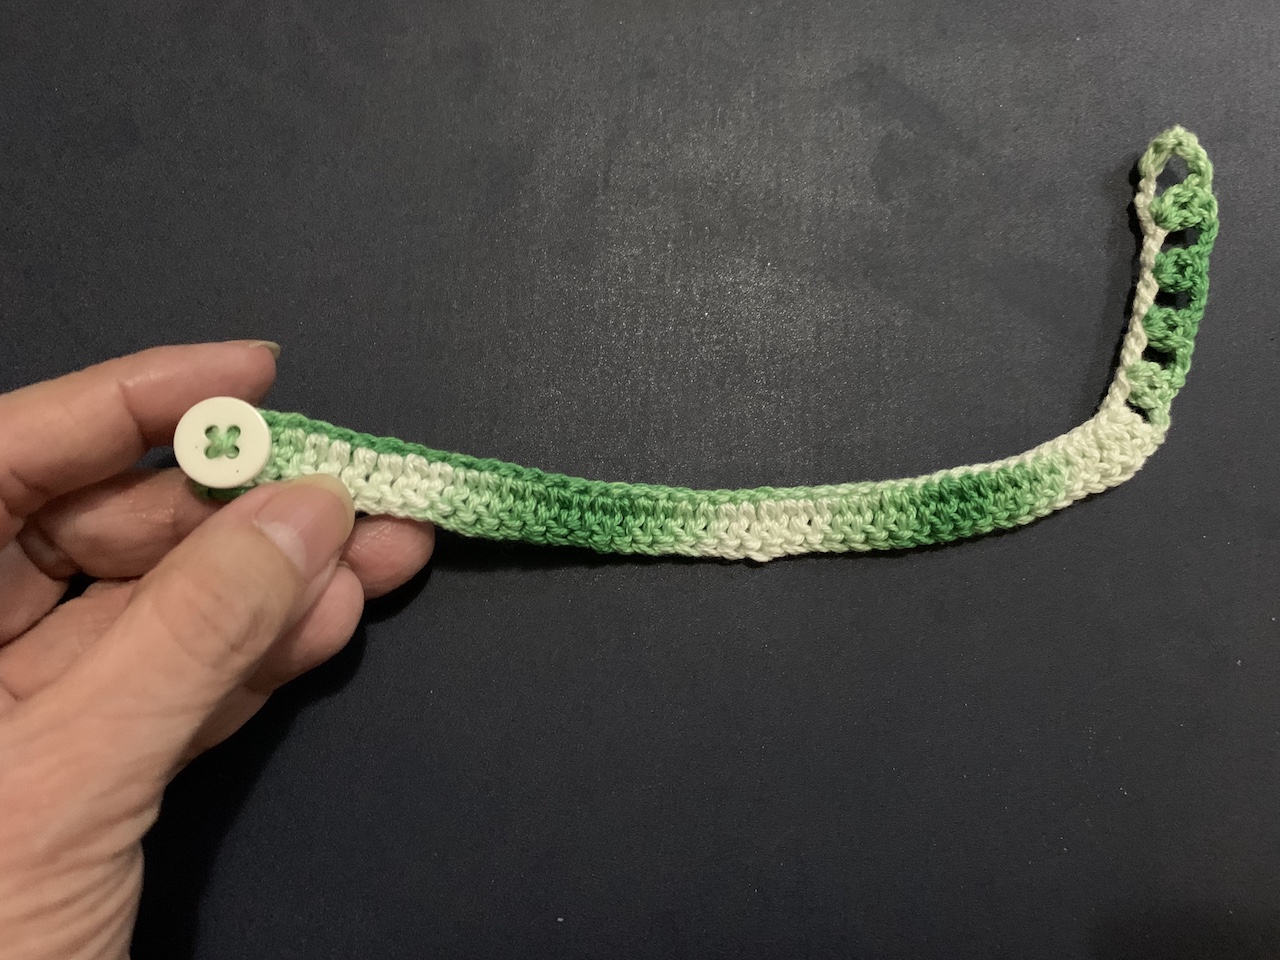
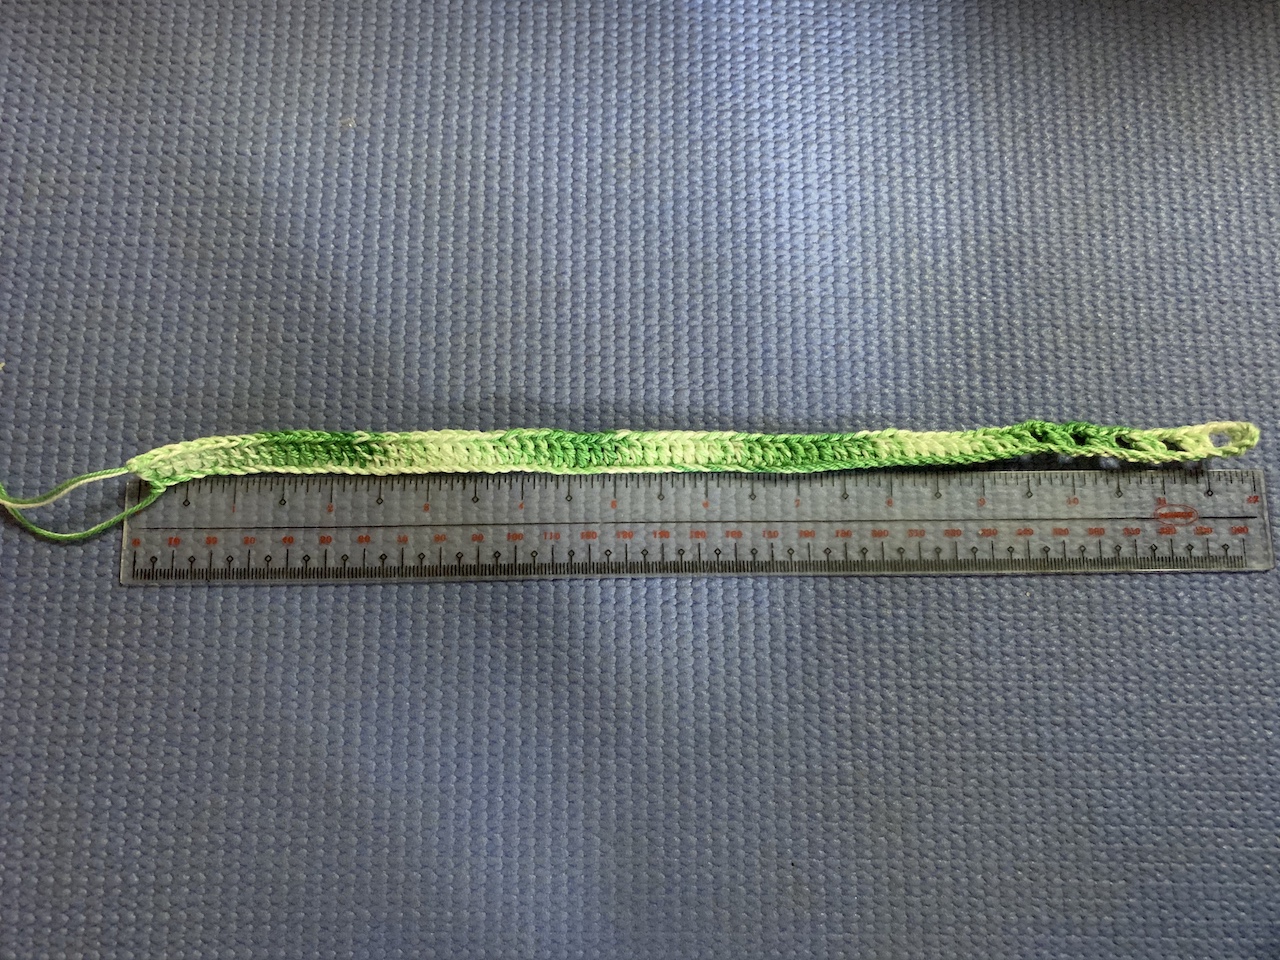
And here’s my 12-inch earsaver just waiting for me to sew a button on it. Tomorrow I’ll experiment with another pair of colored threads.
Want to try the 2-button version instead? Here’s how:
* Chain 32 (or whatever number of chains to make a 6-inch length)
* Do 4 double crochets on 4th chain from hook. This rounds the edge.
* Double crochet all the way across
* On last chain, do 4 double crochets. This rounds the other edge.
* Double crochet across, tucking the thread tail in as you double crochet.
* Close off and end by doing 1 single crochet into an adjoining chain.
* Cut thread about 3 inches from chain. Pull loose end with hook through the chain and weave it through the back side.
* Sew buttons on both ends (For the mask loops to hold securely, use larger buttons, around 20mm in diameter)
Let’s do this, guys! Let’s save the ears of our frontliners!
(Update: Here in Metro Manila, I have used Grab, Angkas, Mr. Speedy to deliver the earsavers to hospitals. If you are in the province, contact your local government and private hospitals, seek out doctor and nurse friends, and ask if they’d like some earsavers. Your barangay officials may be willing also to deliver the earsavers meant for your city or municipal hospital.)
Lastly, join the Earsavers For Lifesavers Facebook group.
Like cross-stitching, crocheting is therapeutic. It takes my mind off worrying and instead I crochet with intention and prayer for the frontliners who get to use my earsavers.
Very clear ibstructions and very helpful to someone who’s just beginning to know about earsavers. Thank you!
Thank you!